Quickly switch between often used settings
One of the biggest advantages the R7 has over Canons other APS-C cameras (heck, even the R5c doesn't have this feature!) is the option to register your most-used settings on the mode dial in order to quicly switch between them. And not just one setting, but any combination of settings! This is especially handy if you want to quickly switch between normal speed recording and slow-motion (and automatically adjust your shutter speed).
To register your custom settings, set up your camera the way you want it (this can anything from aperture, shutter speed, ISO to resolution, framerate, AF settings and much more). After that, go to:
menu > wrench > Custom Shooting Mode > Register Settings.
This will assign your current settings to C1/C2/C3 on the mode dial.
Customizing the Q-menu
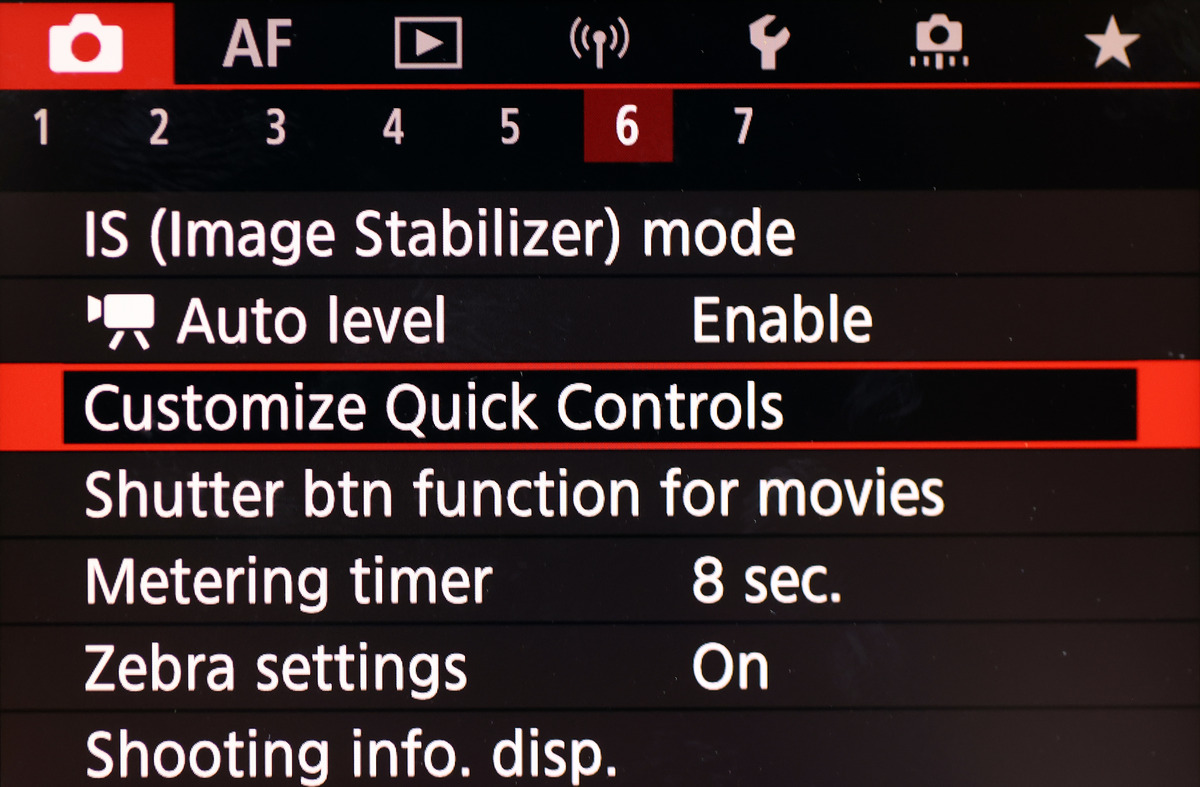
The Q-button on the back of the camera has been Canons way of quickly accessing often used functions like white balance, resolution/frame rate and headphone volume. But what's unique to the R7, is the option to completely customize which options are available under the Q-menu. You can even change the placement of these options on the screen! To customize your Q-menu screen, go to:
menu > Customize Quick Controls > Edit layout
No you can check/uncheck which items you want to display and even change the order/placement by pressing the 'rearrange' option on the screen. Pretty neat!
 Customizing the Quick Menu
Auto horizon level feature
Yes, I'm Dutch, but that doesn't mean I want Dutch angles in every shot... ;-) Correcting a skewed horizon in post often leads to unwanted cropping or a composition that is slightly worse than the original shot. That’s where the IBIS auto level feature on the R7 comes in: it automatically rotates the sensor to keep the image level WHILE you’re taking the shot.
To activate the auto level feature on the R7 go to:
menu > camera icon > auto level > enable
Do keep in mind that the levelling isn't immediate (it takes a second or 2 to adjust) and doesn't work if the angle is too skewed. This feature can also be activated in photo mode.
Fine-grained aperture adjustments
By default, the R7 adjusts the aperture in 1/3 increments. This is fine for photography, but if you adjust the aperture during video recording, you'll see a jarring change of brightness in your footage. Luckily the R7 has the option to change the increments to 1/8, making any aperture changes much smoother (and more like adjusting a variable ND filter). Another first for the R7! To change the aperture to 1/8 increments, go to:
while in video mode, go to 'menu' > camera icon > 2 > Av 1/8-stop incr. > enable
Note: this feature only works with RF-lenses, not with adapted EF-lenses
C-log3 recording
Another reason to go for the R7 instead of the other APS-C options in Canons current line-up is of course the option of shooting 10 bit 4:2:2 C-log3 footage. To enable C-log3 recording, go to:
- menu > camera icon > Canon Log settings > Canon Log, and set it to 'on'
- set View Assist to 'on'. This way you don't have to look at the flat image while recording, but get a preview of what the graded image will look like.
- to get the most dynamic range out of your image, choose 'Cinema Gamut' for the Color space.
If you're looking for LUTs to easily grade your C-log3 footage, check out my C-log3 LUT pack!